Step 1: Unplug the router
and remove the cutter as
shown by the
manufacturer.
Step 2: Remove the factory
base plate.
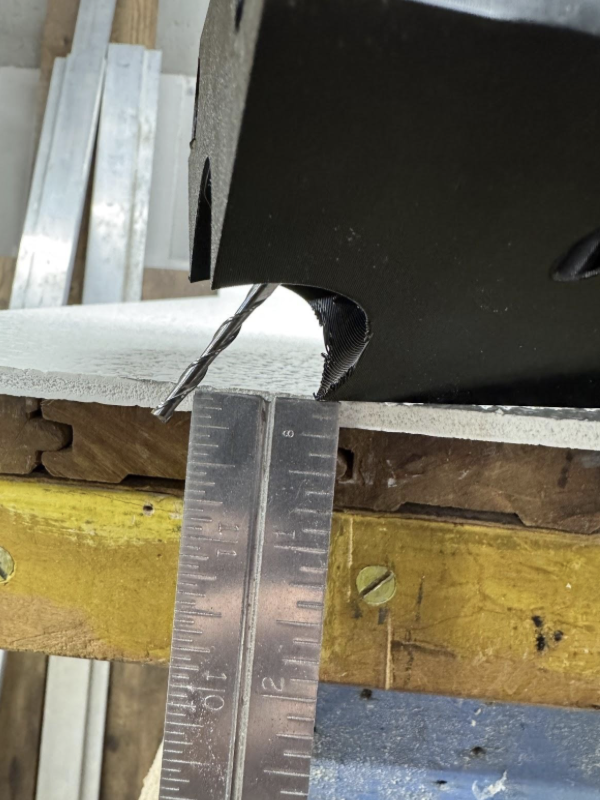
Step 5: Set the depth of the
router bit for the weather
stripping you purchased.
Set the base on the edge of
a board or table and
measure down from the
edge of the base.

Step 1: Turn on the router
and vacuum, set the router
speed. I recommend the
max speed for this size end
mill in wood.
Step 4: Flip the router and finish the 12”-24” of jam that was left in step 2.
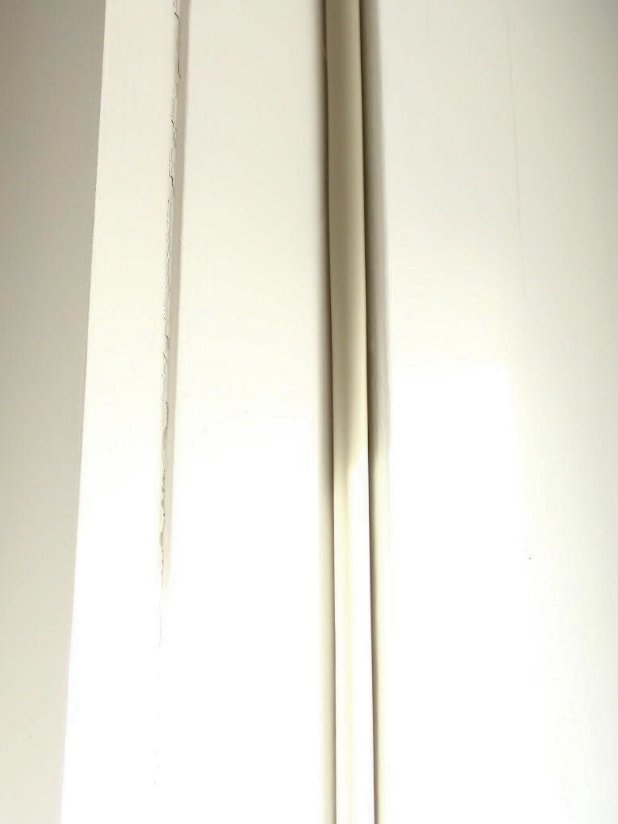
Step 1: Start in a corner and push the barbed weather stripping into the groove. Slide the weather stripping up the groove to the corner and cut with a scissors or utility knife.
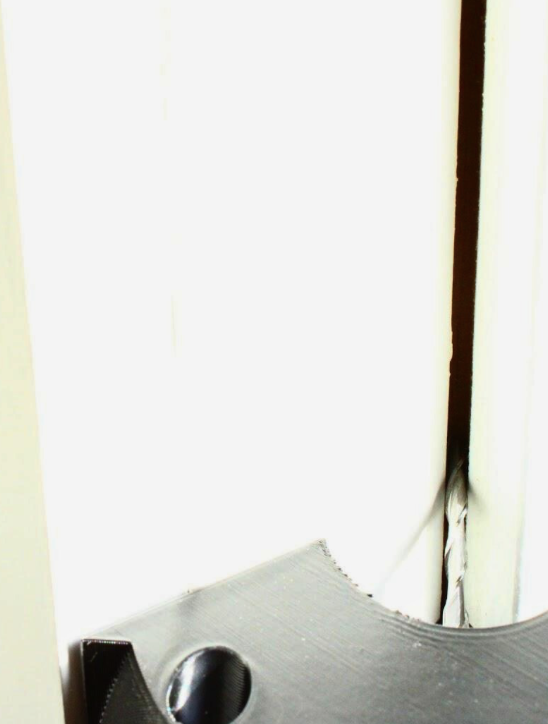
Step 3: Carefully and slowly push the router into the corner. Making sure to keep the router flat on the jam through the entire cut. Turn off the router when retracting the tool from the
groove.
Step 6: When done routing, remove the endmill or retract it into the base to protect it from accidental damage
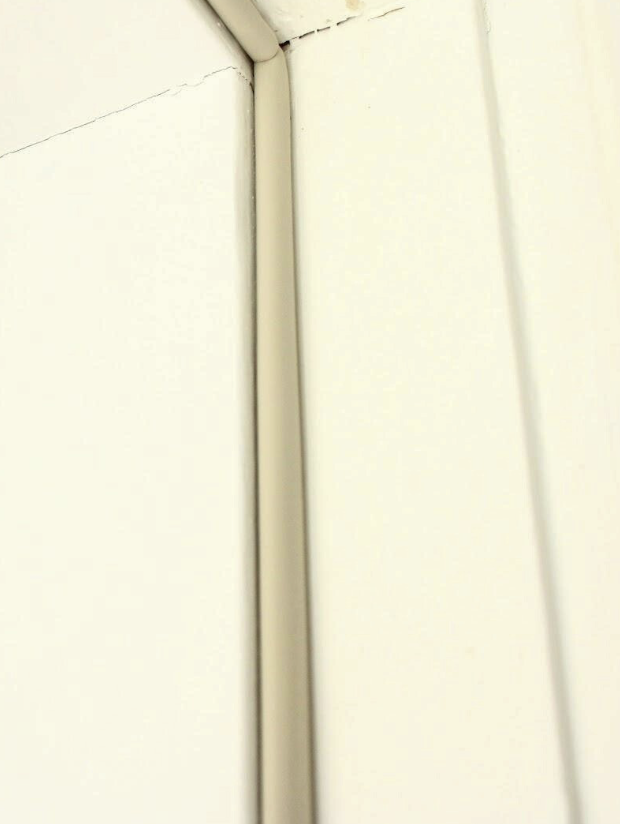
Step 3: Test the door fit. A different diameter weather stripping might be needed depending how the door was hung and how much gap was left on each side of the door. The weather stripping should not be completely crushed/flat when the door is closed.
Router Base Instructions
*Follow all manufacturers suggestions when using this accessory. Failure to do so could lead to severe injury. If you do not feel safe using this attachment please reach out.*
Router Set Up
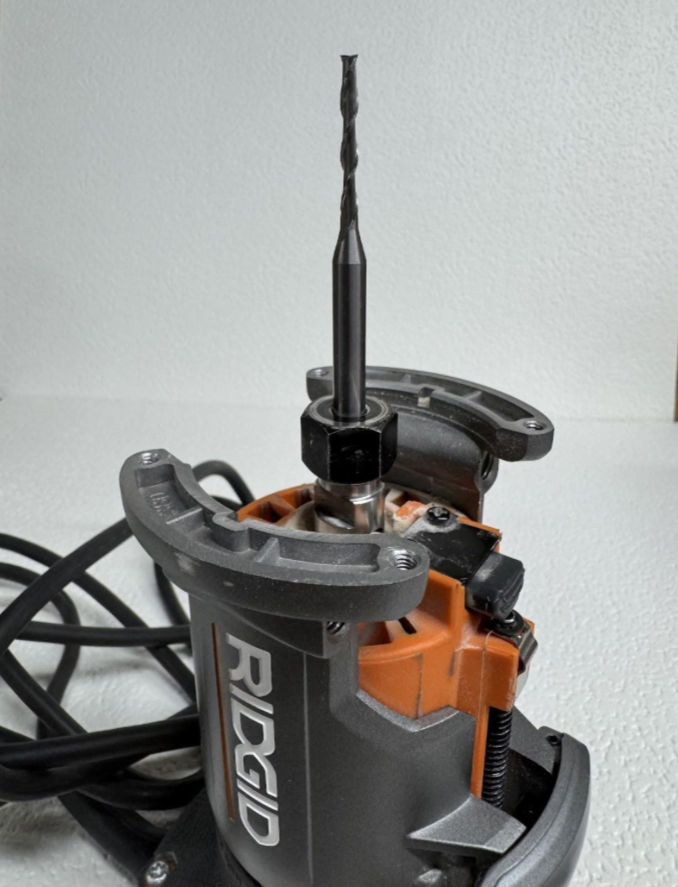
Step 3: Install the extended
endmill included with the kit
per manufacturer's
specifications. Leave as
much endmill sticking out
of the collet as possible.
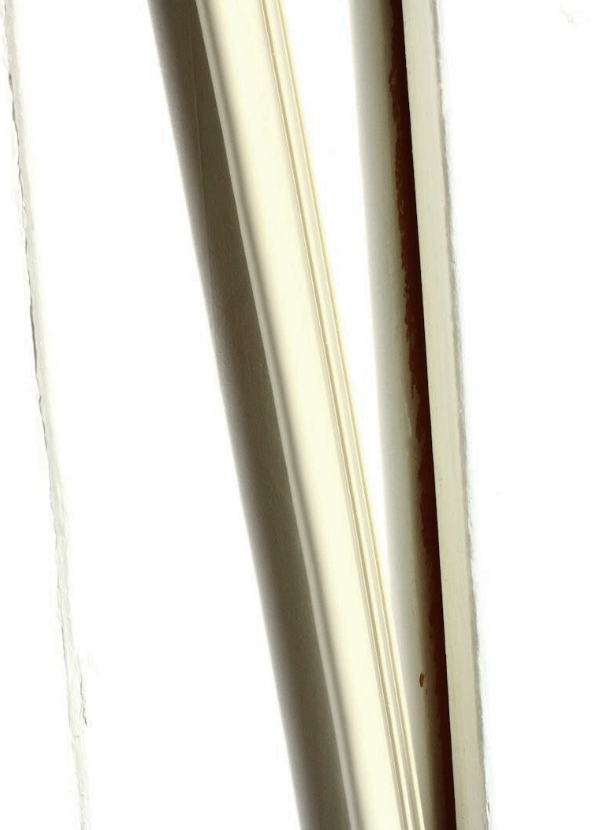
Step 5 (Option 2): Line the
base of the weather
seal against the
bottom of the base as
shown above. Error on
the side of being
slightly too deep.
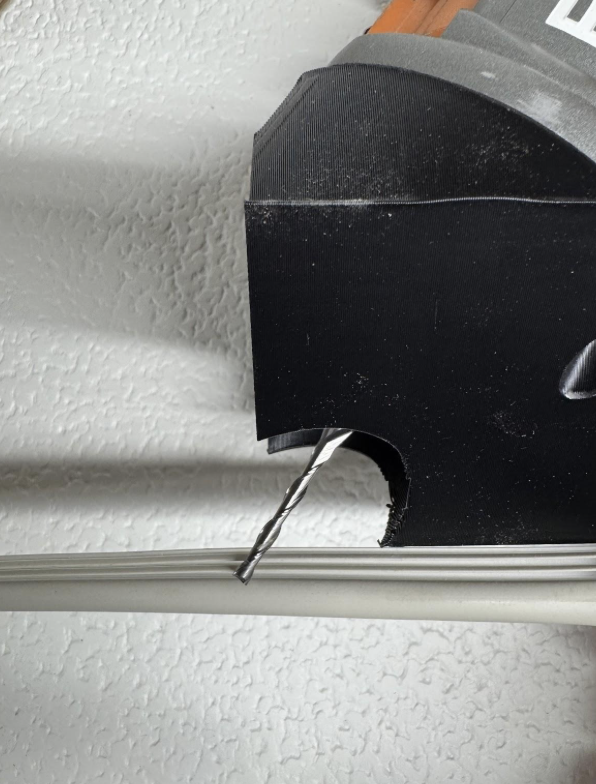
Routing the Groove
Step 2: Start 12”-24” from a
corner, set the rear of the
base into the corner of the
door jam and tilt the base
into the jam until the base
is flat on the jam.
Step 5: Repeat these steps for all three sides of the door.
Installing the Weather Stripping
Step 2: Repeat these steps for the other three sides of the door.
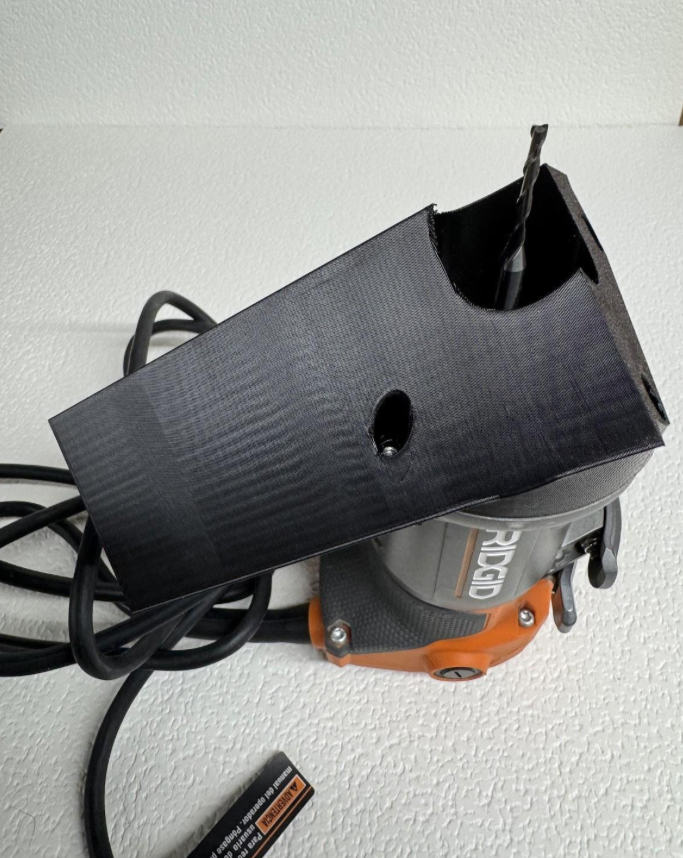
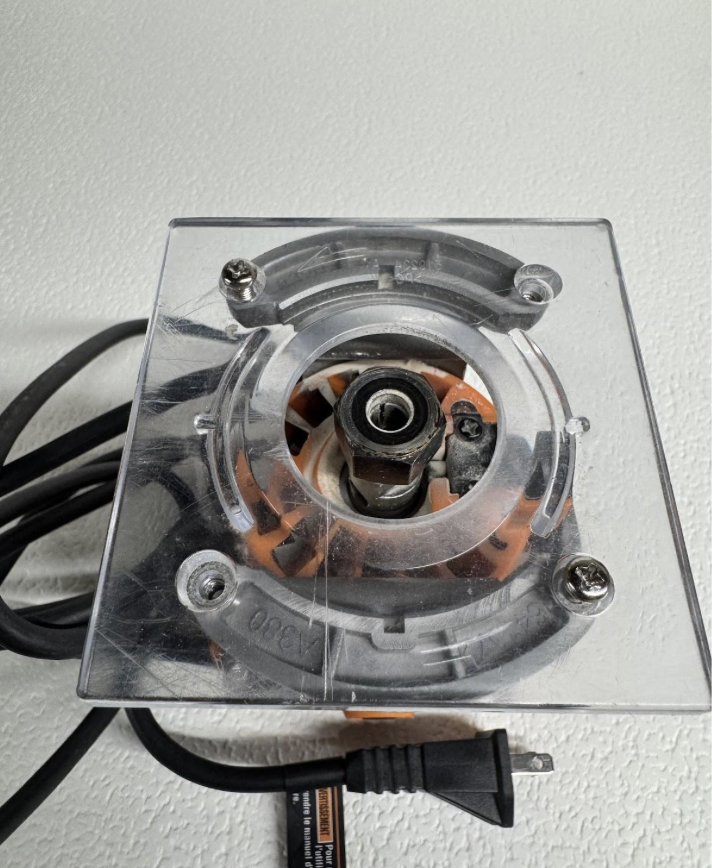
Step 4: Install the new
router base with the 4
screws, make sure not to
cross thread the holes.
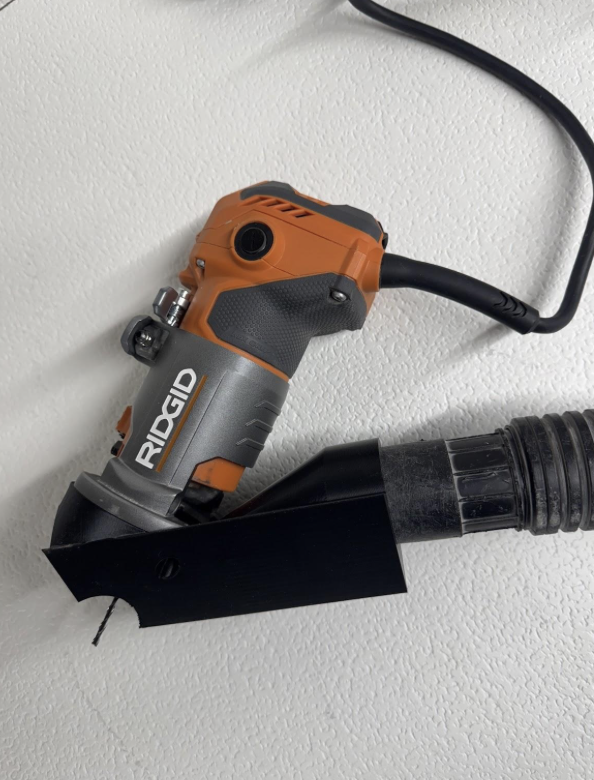
Step 6: (Optional) connect
a vacuum to the rear of the
base for dust collection.